
In this article, we are going to take a short lesson on how to use a paint sprayer gun effectively. Once you are aware of how to utilize a spray painter properly. Photo: PHL Approach
All the automotive sprayer guns are highly recommended for auto-painting by your own. Easy and simple using compatibility makes work quite comfortable than analog painting procedures.
A sprayer can be used for staining a bench or it can also be used for painting the exterior of your house.
What is Paint Sprayer?
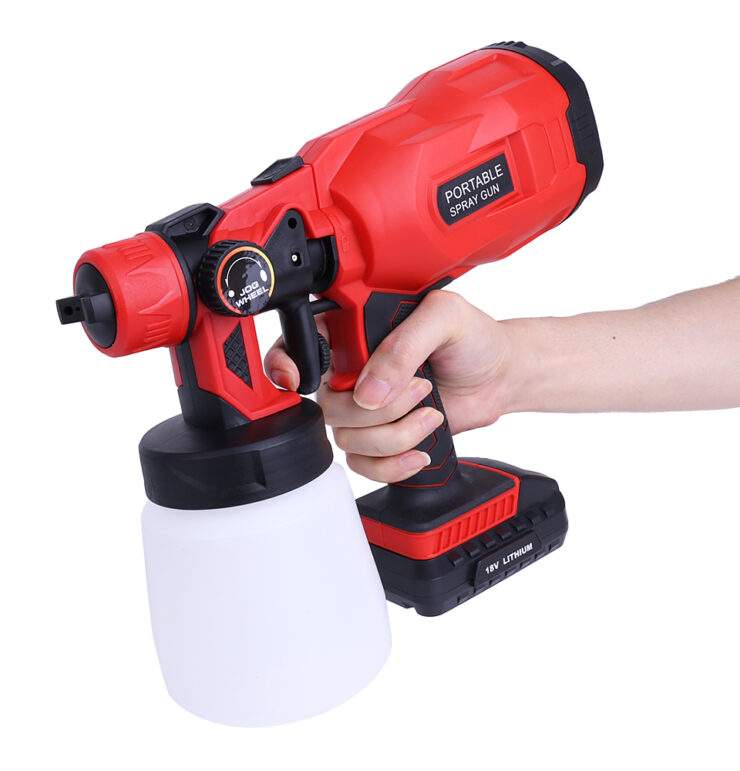
A paint sprayer gun can be defined as a painting device that has helped to eliminate the conventional method of brush painting. The device leaves a coat of varnish, ink, or paint on a specific surface.
On most occasions, air pressure or gas is used by the sprayers to applying a coating of paint on the object.
How to Use a Paint Sprayer: Step by Step Guide
Below we have mentioned several steps on how to use a paint sprayer.
1. Select a Paint Sprayer for the Project
You will come across mainly 3 types of paint sprayers at present:
- HVLP (High Volume Low Pressure) sprayers
- Airless sprayers
- Pneumatic sprayers
2. Practice Using the Device
- After selecting the paint and the sprayer, make it a point to test the device on a big piece of cardboard. Do not make any unnecessary haste and spray gradually and have a few pieces of scrap material at your disposal.
- While using a paint sprayer you would like to get an even look applied to the surface quickly. Make experimentation with different spraying methods till you succeed in getting an even and consistent type of paint onto the scrap material’s surface.
- While holding the spray gun near the surface, more paint is being applied and you get a narrower spray pattern. Try to hold the device neared the surface and watch the result.
- A thinner coating of paint is created while you hold the spray gun away from the surface. Practice this method as well.
- In case the sprayer is held quite far from the surface, there is a possibility of the paint to become dry before reaching the surface. If it is so, it will be imperative to respray the identical surface and you will consume more time for completing your project.
3. Make Use of the Sprayer
In order to prevent an excessive amount of paint accumulating on the surface begin to make a stroke movement along with it prior to pulling the gun trigger. Go on stroking after the trigger is released.
- Observe the manner in which the paint is going to land on the surface while you begin to spray. Accelerate or slow down as and when required to make the coverage consistent and uniform.
- Spray directly in the direction of the surface while staying clear of a strongly angled direction.
- Adjust the sprayer’s tip for a horizontal or vertical application pattern.
- Do not swing your arm to and fro; rather, move your arm back and forth carefully for spraying. Your wrist must not be overflexed, and you ought to keep the spray gun at right angles so as to prevent any spray arch that can lead to an uneven paint coating.
- Wipe the tip of the sprayer at regular intervals using a rag for preventing the paint from drying out in the long run.
- Do the corners and the eaves first.
- After the project has been completed, clean the painter comprehensively while sticking to the instructions of the manufacturer.
- Don’t store any paint in the sprayer for a long time.
- While operating the device, always give priority to safety. Try not to direct the sprayer at any animal or individual.
4. Get Prepared before Using the Sprayer
Be knowledgeable of the objects that will be required by you for operating the device prior to renting or buying the sprayer. 5-gallon buckets can prove to be useful while using the paint sprayer. Apart from this, make it a point to have the following at your disposal:
- Pinter’s tape
- Gloves
- Smaller buckets
- Large pieces of scrap material or cardboard
- Face mask
- Tarps or drop cloths
- Paper towels or rags
Go through all the instructions prior to starting to use the device.
Types of Spray Paint
Spray paints can be classified according to the type of application. Here, we have mentioned some common types of spray paints at present depending on their application:
1. General Purpose
These types of spray paints are sold mostly at home improvement or hardware stores. They might be used for painting different types of materials like metal or hardwood.
They are employed in rushed paint jobs thanks to their fast-drying ability. Despite the fact that not much preparation is needed for using them, at times you might be required to prime or clean to surface so that the paint sticks to it.
2. Decorative Paint
These types of spray paints are demarcated for their artistic values especially in accenting the shade of different types of objects. One more aspect that helps to make them more appropriate happens to be the different types of faux finishes like granite or stone.
3. Plastic Paint
Paint finds it hard to stick to plastic surfaces, and for this reason, special paints have been created to overcome this problem. Plastic paint can be employed on PVC, plastic objects, and other smooth areas that might repel oil-based or water-based paint.
4. Rust-preventative Paint
Rust-preventative paint has been made especially for the metallic objects that you will find outside your residence. A glossy coating is provided by this sort of paint which helps to prevent cracking and fading besides rusting of the metal.
Items needing this kind of paint consist of bikes, mailboxes, swing sets, and so on.
5. Specialty Paints
These types of paints can include a wide array of paints out here. However, you will come across some specialty paints which are more well-known as compared to the others because of their unique uses.
For instance, frosted paint can be applied on a glass surface for reducing glare.
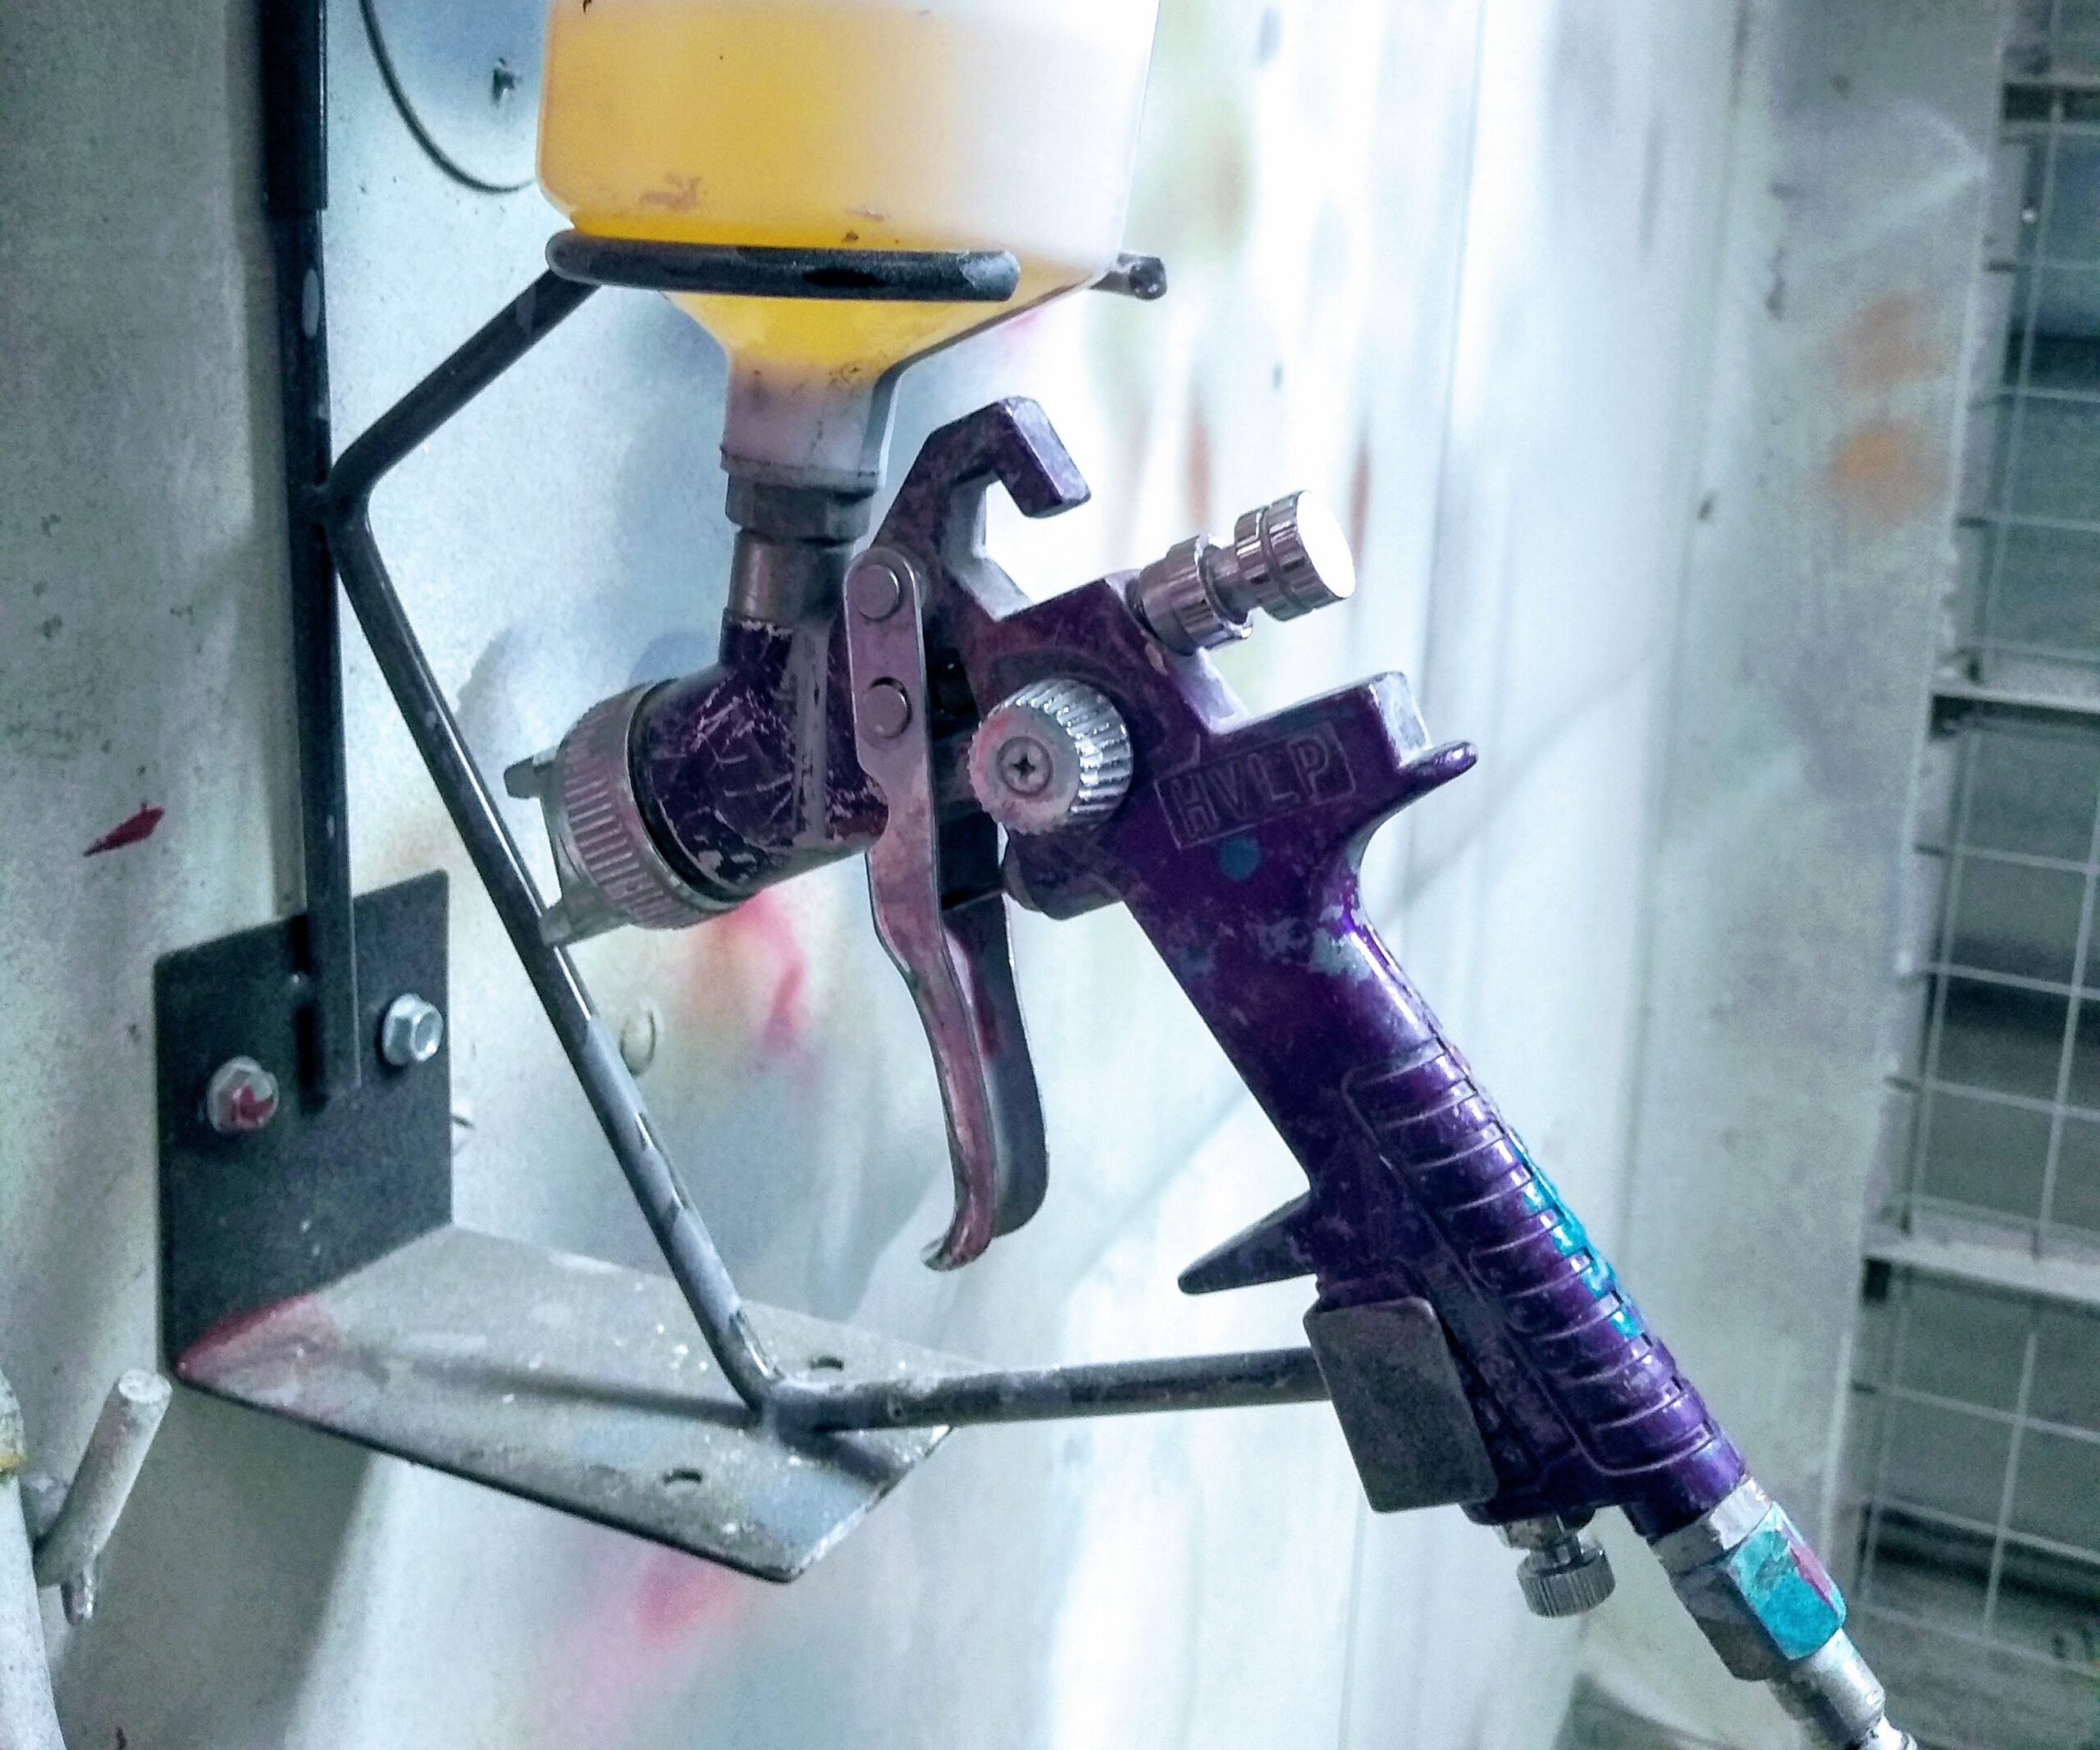
What is HVLP Sprayer?
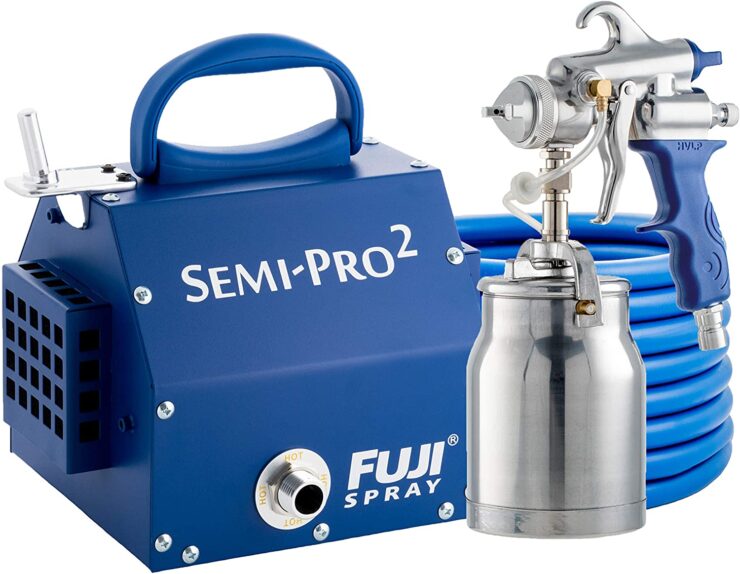
HVLP (High Volume Low Pressure) sprayer makes use of a steady air volume for propelling the paint onto the desired surface from the gun’s tip. These sprayers are well-known at present since it is easy to regulate the low pressure while creating lesser waste.
HVLP sprayers are actually recommended for applying thinner paints and are more costly to rent or purchase. A compressor is used by this sort of sprayer for atomizing the paint.
Majority of the models enable the user to regulate the pressure of the spray such that it will be feasible to paint the difficult spots easily.
What is an Airless Paint Sprayer?
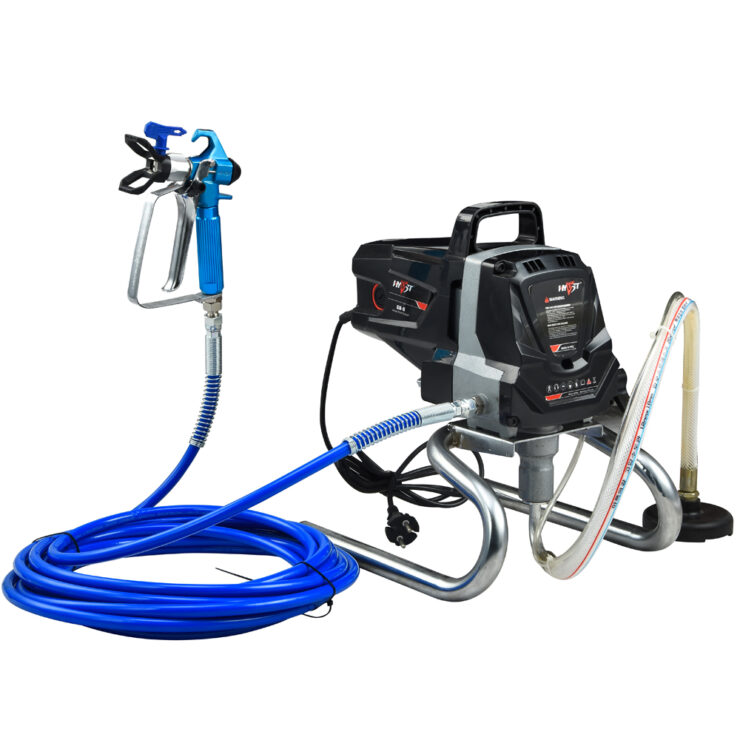
An airless paint sprayer is going to use an electric pump for propelling the paint via its tip while applying high pressure to the reservoir of the paint. While painting, the paint comes out through the sprayer’s tip and it ultimately dries up with a glass-smooth coating.
At present, the airless paint sprayer is obtainable with different types of tips appropriate for various paint tasks like:
- Varnish
- Lacquer
- Wood stain
- Latex house paint
How to Mix Paint for Spray Gun?
Below we have mentioned 4 tips which will allow you to paint easily each and every time. You can also make sure that the gun stays clog-free for a long time to come. These tips are as follows:
1. Select the Paint
Paint happens to be the most significant part of the process. You need to choose a paint which will help you to figure out what kind of thinning agent you need to use. Also how you will be mixing the paint.
Water should prove to be useful in case you like to go with paints including latex paint and acrylic paint. However, in case you like to go for oil-based paint a different thinning liquid will be required.
Which is usually mineral-based and aids in reducing the oil’s viscosity.
2. Strain the Paint
Prior to making use of any kind of paint in the paint sprayer make it a point to run it via a paint strainer. In this way, you will be assured of the fact that any clump is removed from the sprayer before getting into the system.
You need to pass the paint into a container via a paint strainer for straining the paint. After completing this step, the sprayer can be loaded with paint. Although this step might not be imperative, it will aid in improving the process significantly.
3. Test the Paint
At this stage, you are almost set to mix the paint. Prior to getting started, it might be sensible to run some paint through the sprayer for ascertaining how it is able to handle the paint sans the thinner.
For getting this done, simply spray some standard paint onto some cardboard. In case the paint is applied uniformly, then probably you are lucky and there is no need for you to thin the paint.
However, in case the paint comes out with clumps then it might be needed for you to thin the paint. In that case the next step will be needed.
4. Get the Paint Mixed
So you have performed the test and have come to the decision to thin the paint. There is no need to become stressed since this step is quite easy.
First, you are suggested to review the can of paint for seeing whether there is any thinning guideline from the manufacturer. In case there are no instructions, you will have to get the job done on your own.
For this, you might need to make some experiments, and you are advised to do it slowly and also test spray frequently. After getting a thickness that is working for you, note it for the subsequent usage.
At present, you are all set for virtually any paint spraying assignment which you might have ahead of you.
How to Clean a Paint Sprayer Gun?
Step 1
After completing painting for the day, you need to place the sprayer’s intake hose into a lacquer thinner (in case of oil-based paints) or a container of water (in case of latex-based paints).
Step 2
Next, the spray gun has to be pointed into the container of paint and the trigger has to be pulled which will allow any unused paint to get saved for later usage. You need to release the trigger prior to the lacquer thinner or the water starts spraying out.
Step 3
Following this, the gun has to be pointed into a trash can and the rest of the water or thinner and paint have to be sprayed through. Go on spraying the thinner or water into the can till the thinner or water becomes clear and clean.
Step 4
Make use of shears, scissors, or a knife for trimming the bristles of an inexpensive paintbrush to around 1 inch in length.
Step 5
Make it a point to pour around a couple of cups of lacquer thinner or paint thinner into a small bucket.
Step 6
Next, the spray gun has to be disassembled and all the gun components must be placed for soaking into the lacquer thinner.
Step 7
Put on a pair of gloves (here, you can use blue nitrite gloves). After putting lacquer thinner on a clean piece of cloth, the over-sprayed paint has to be rubbed off from the sprayer’s body and frame.
Step 8
Start to clean the paint off from the gun while making use of the trimmed brush.
Step 9
Finally, the used thinner has to be filtered utilizing a clean piece of cloth and the thinner has to be put back for reuse into the original container.
How Much Does a Paint Sprayer Cost?
A paint sprayer’s cost might vary according to its quality.
While the price of the budget class or throw away paint guns might vary between $10 and $30 that of the economy class paint guns can be anything between $100 and $250.
On the other hand, the premium class paint sprayers might cost somewhere between $400 and $700 at present.
Conclusion
Selecting the appropriate paint sprayer can be some sort of challenge. However, it will be possible for you to come across an astounding model satisfying all your demands.
If you take your time to think regarding the sorts of projects you are about to take on; how frequently you will be painting, and also the paint compounds that you will be using.